How to Control Ground Ivy in Your Lawn: A Multi-Pronged Approach
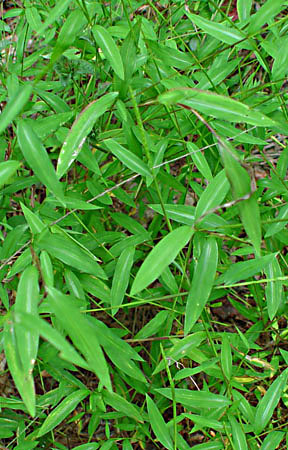
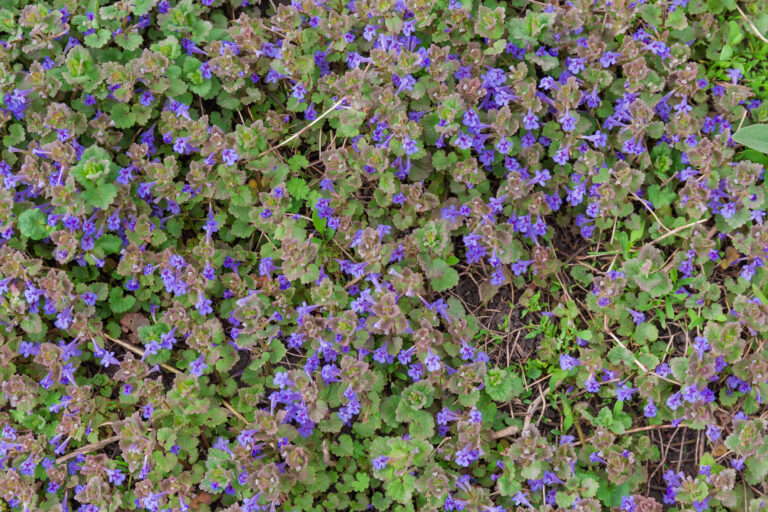
Ground Ivy, also known as Creeping Charlie, is one of the more persistent weeds found in lawns and landscape beds. Its rounded leaves and purple flowers can quickly overtake a previously lush, green lawn. At Fairway Green, we’ve learned that