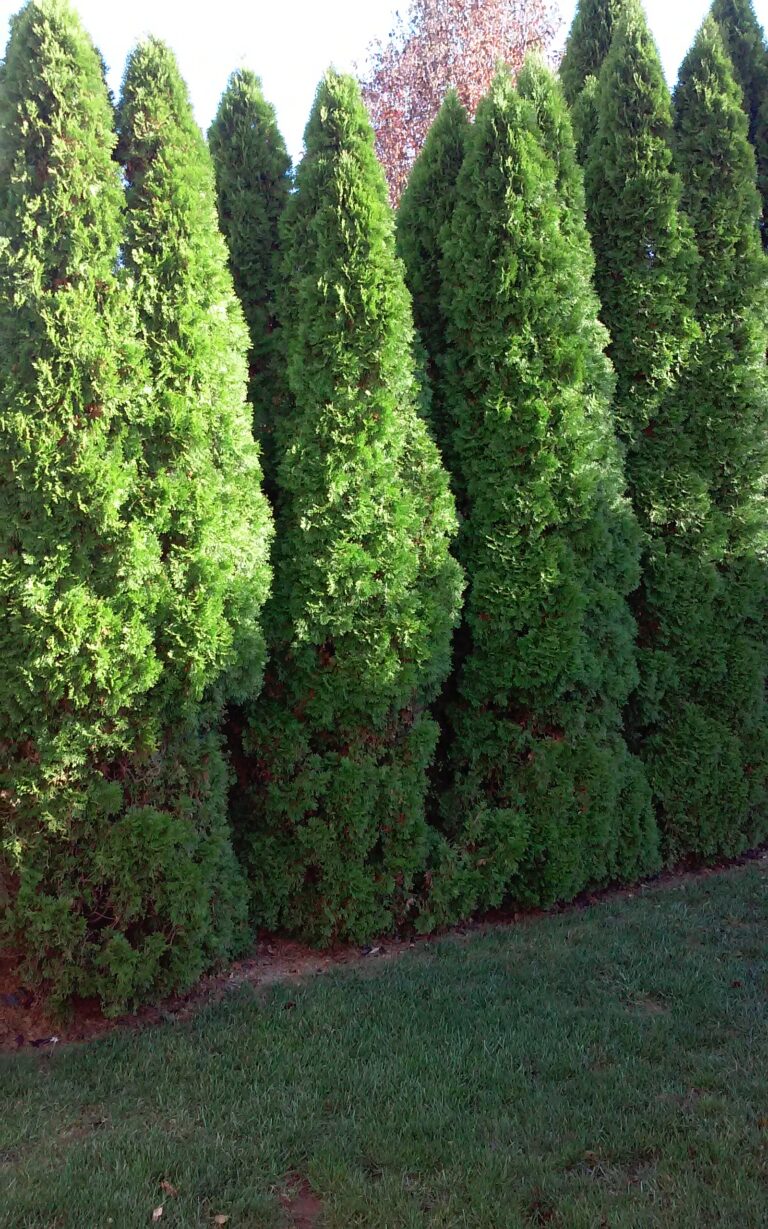
Evergreen Trees and Shrubs: Why They are Popular and How to Care for Them
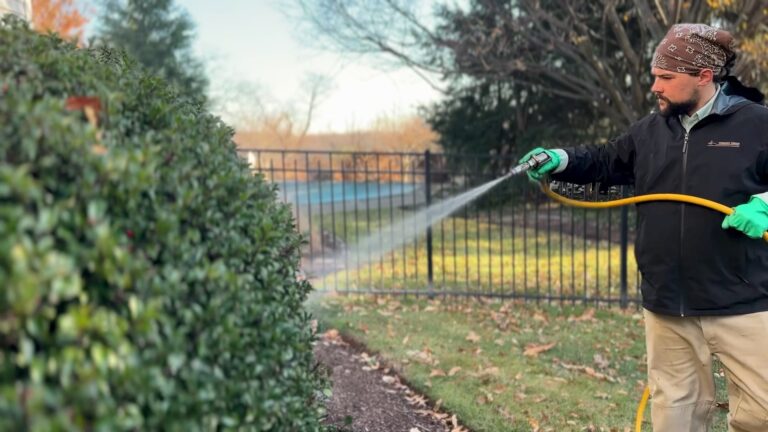
We see that evergreen trees and shrubs are a cornerstone of residential and commercial landscapes throughout New Jersey and Pennsylvania. From privacy screens to windbreaks, evergreens provide structure, color, and functionality that lasts all year long. Homeowners often choose evergreens